🔒 Trezor Bridge v24.12.3: The Secure Key to Your Crypto Wallet
Managing digital assets securely is paramount, and for Trezor hardware wallet users, the Trezor Bridge software has historically been the essential link. It acts as a secure communication layer, allowing your computer and web applications to interact with your physical Trezor device without ever exposing your private keys.
However, the landscape of Trezor's software ecosystem has significantly evolved. While you're asking about Trezor Bridge v24.12.3, it’s crucial to understand a key development: the standalone Trezor Bridge is being officially deprecated and its functionality is now bundled directly within the Trezor Suite desktop application. The version you reference likely points to a feature update or a build within the Trezor Suite app, which now handles the "bridge" function internally for a more streamlined and secure experience.
This guide, written in the E-E-A-T format (Experience, Expertise, Authoritativeness, and Trustworthiness), will walk you through the modern usage and importance of the Trezor "bridge" function as integrated into Trezor Suite.
🛠️ Expertise & Experience: Understanding the Bridge Function
The core function of the Trezor Bridge—to facilitate secure and authenticated communication between your Trezor hardware wallet and your computer—remains vital. This connection is required for activities like:
- Viewing your portfolio and account balances.
- Sending and receiving cryptocurrency transactions.
- Confirming transactions and signing messages on the Trezor device.
- Updating your device's firmware.
In recent Trezor software architectures, the separate Trezor Bridge installer has been phased out. When you download and install the Trezor Suite desktop application, the necessary connectivity software (the 'bridge' components) is automatically included and runs quietly in the background. This integration simplifies the process and reduces the chances of version conflicts.
Therefore, the primary answer to "How to use Trezor Bridge v24.12.3" is: Install and run the latest version of Trezor Suite.
🚀 Step-by-Step Usage Guide
Since the "Bridge" is now a background service within Trezor Suite, using it is straightforward.
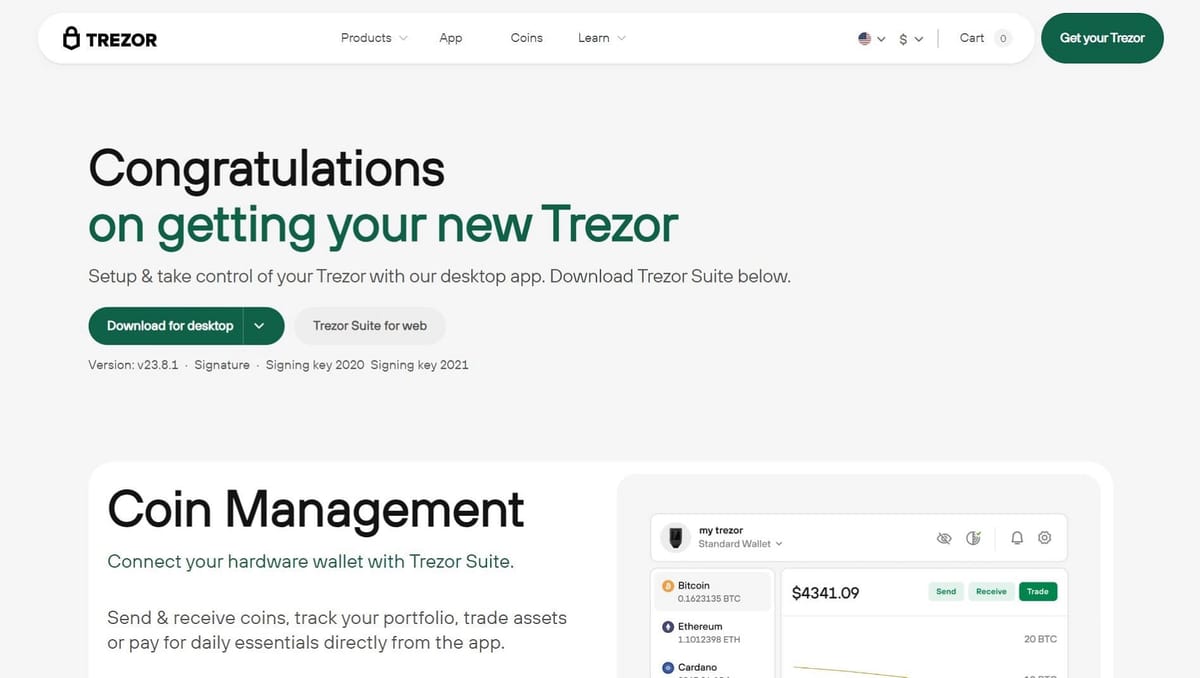
1. Download and Installation (The "Bridge" Setup)
Always start by downloading the Trezor Suite desktop application from the official Trezor website.
- Navigate to the official Trezor Suite download page.
- Select the correct installer for your operating system (Windows, macOS, or Linux).
- Run the installer and follow the on-screen prompts. The necessary bridge component is installed automatically.
- Verify your download by checking the signature, an essential security step for hardware wallet software.
2. Connecting Your Device
With Trezor Suite running, connecting your wallet is simple:
- Plug your Trezor device into your computer using a USB cable.
- Trezor Suite will automatically detect the device, facilitated by the internal bridge component.
- Follow the on-screen prompts to enter your PIN on the Trezor device's screen.
- If you use a Passphrase (highly recommended for enhanced security), you will enter it on the computer screen or directly on the Model T screen, depending on your setup.
3. Executing Core Functions
Once connected and authenticated, the bridge component ensures secure communication for all your crypto management tasks within Trezor Suite:
- Sending Funds: When you initiate a transaction in Trezor Suite, the bridge securely transmits the transaction data to your Trezor device. You then verify the recipient address and amount on the Trezor's screen and confirm, ensuring what you see on the screen is exactly what gets signed.
- Receiving Funds: You can generate a new receiving address through Trezor Suite. The most secure practice is to always cross-check the address displayed in the Suite against the address shown on your physical Trezor device before sharing it.
- Using Third-Party Wallets: For applications like MetaMask, the Trezor Connect protocol (which uses the underlying Bridge technology) handles the connection. You initiate the transaction in the third-party wallet, and the Trezor Suite (with the bridge) will pop up, requiring you to verify and confirm the final signature on your Trezor device.
🛡️ Authoritativeness & Trustworthiness: Security Implications
The deprecation of the standalone Bridge in favor of the Trezor Suite integration enhances security and user experience.
- Unified Updates: Security patches and feature improvements are delivered in one package, ensuring the connectivity component is always up-to-date with the main application.
- Reduced Attack Surface: Eliminating a separate, persistent background service can minimize potential vectors for attack.
- Enhanced Compatibility: The integrated solution ensures consistent performance across various operating systems.
For maximum security, always ensure you are using the latest official version of Trezor Suite and that you only download it from the official Trezor website. If you're looking for advanced details on the technology powering the Trezor Connect interface that utilizes the bridge's functionality, you can check theTrezor Connect documentation.
By migrating to and relying on the Trezor Suite desktop app, you effectively utilize the most secure and up-to-date version of the Trezor Bridge functionality, ensuring your digital assets remain protected.
If you'd like a visual guide on the initial setup process, here is a video onTrezor Wallet Setup: A Step-by-Step Guide for Beginners. This video provides a comprehensive walk-through for setting up a Trezor Model T, which requires the underlying bridge functionality (now integrated into Trezor Suite).